Many users want to set up a dedicated server for algorithm trading and it is definitely highly recommended because any other services at the same server that runs IBridgePy may adversely affect implementing your pre-defined trading strategies. For example, excessive internet traffic during streaming a Netflix movie will take the resources of communication between IBridgePy and IB server and slow down the trading processes.
In this tutorial, we will talk about setting up a dedicated virtual server for IBridgePy at Amazon Elastic Compute Cloud (EC2).
What is Amazon EC2?
Amazon EC2 provides scalable computing capacity in the Amazon Web Services (AWS) cloud. Using Amazon EC2 eliminates your need to invest in hardware up front, so you can develop and deploy applications faster.
How much will cost me to use Amazon EC2?
Free for the first year by using EC2 micro instance, as instructed in this tutorial.
After the first year, it depends on how many services you want. For more details, you may check out this webpage. Amazon EC2 pricing
What are pre-installed?
- IBridgePy V3.0.5
- IB Gateway
- Python 2.7 64 bit
- Sublime text editor
Step by step instruction to set up a virtual server at Amazon EC2.
Step 1. Create an Amazon EC2 account if you don’t have one by go to this webpage. Amazon EC2
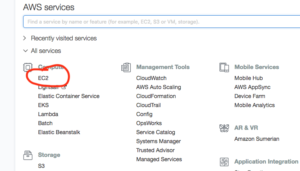
Step 2. Log into AWS Management Console and then click “EC2” on the left.
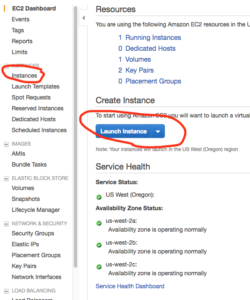
Step 3. Start to launch an instance.
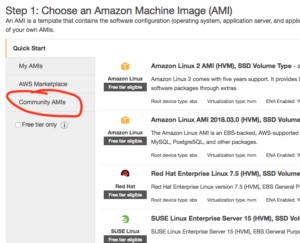
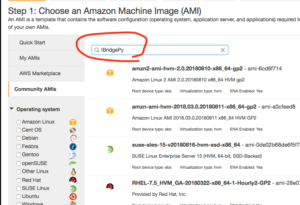
Step 4. Go to Community AMIs (Amazon Machine Images)
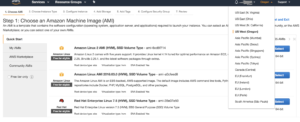
Go to upper right corner and change the location to US N. California. Otherwise you won’t find IBridgePy AMI in Community AMI.
Then, click “Community AMIs”
Step 5. Search IBridgePy AMI.
Step 6. Found IBridgePy AMI and select it.
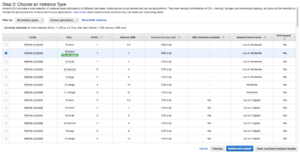
Step 7. Choose instance type. “t2.micro” is free for the 1st year.
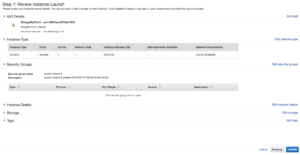
Step 8. Review and launch the instance.
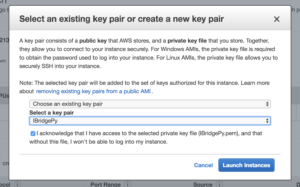
After you click “launch”, you will be prompted to create a key pair. A key pair is needed to SSH into the virtual machine later so that you need to create one or use the existing one.
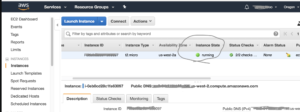
Step 9. Confirm the instance is running.
It will take a few minutes for EC2 to initiate and start an instance. If your instance is running well, you will see the status is green.
Step 10. Open port 3389 for Microsoft remote desktop to remotely log in.
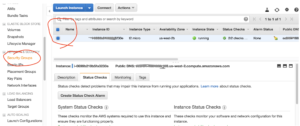
Check the running instance and click the security group on the left.
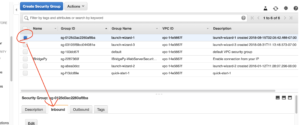
Choose the security group associated with the running instance by reading the description and click “inbound”.
Add RDP port 3389 to allow incoming traffic.
Step 11. Set a password via SSH
Use the created key pair in the previous step and SSH into the virtual machine.
The command line looks like this:
Then, create a password for the user of ubuntu
$ sudo passwd ubuntu
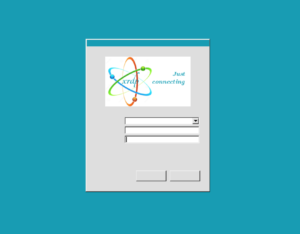
if step 11 is not done correctly, you will see a screen like this after you remotely log into the virtual machine.
Step 12. Download and install Microsoft Remote desktop
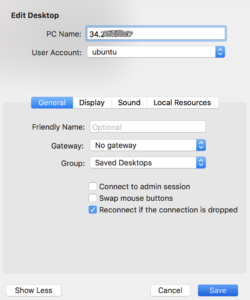
User Account is “ubuntu“, not “ubuntu@xx.xx.xx.xx”
Password is what you have set in step 11
If you are using Mac, install this app from Apple store.
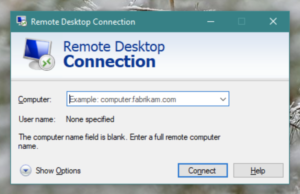
If you are using Windows, use Remote Desktop Connection
If you are using Android, you can go to google play and install Microsoft remote desktop to connect.
More details , please refer to this webpage https://www.digitalcitizen.life/connecting-remotely-windows-desktop-windows-7
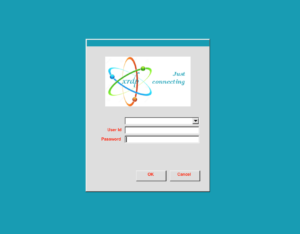
Step 13. Get connected to the remote virtual machine at EC2
The user account/usr name is ubuntu and the password is what you have set in step 11. Click “OK” when you are ready.
The desktop looks like this.
Tips:
- The memory of the micro EC2 instance we are using is not large because it is free.
- Do not use IDE, otherwise, the response will be extremely slow.
- If the virtual machine does not have any response, the best way is to “Reboot” at EC2 management consoler.
- The best combination is to use Sublime editor and terminal.
Congratulations!



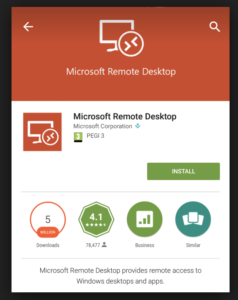

How about I use an Android tablet? Can I go to Google Play to download the Microsoft remote desktop to connect, in Step 12 above?
Yes, you can do that. Tutorial is updated.
I did exactly the same with Alibaba Cloud !
OK it cost 4.5 US Dollar per month (Ubuntu in Germany) but it comes with 40GB disc space.
Here a very short Tutorial:
++++++++++++++++++++
First of all create the Key-pair and bind it with the instance then log in via ssl to install a Desktop:
++++++++++++++++++++
ssh -i “keyAlibaba.pem” root@11.55.33.77
sudo apt-get update
sudo apt-get upgrade
sudo apt-get dist-upgrade
adduser carofa
sudo apt-get install lxde
apt-get install default-jdk
+++++++++++++++++++
access the Desktop inside the Chrome-browser via Alibaba Console by the link ” Connect”
first use the Guest login and reboot then login as carofa
+++++++++++++++++++
wget https://download2.interactivebrokers.com/installers/ibgateway/stable-standalone/ibgateway-stable-standalone-linux-x64.sh
wget
chmod a+x ibgateway-stable-standalone-linux-x64.sh
./ibgateway-stable-standalone-linux-x64.sh
wget https://ibridgepy.com//wp-content/uploads/2018/09/IBridgePy_Ubuntu_Python27_64.zip
unzip IBridgePy_Ubuntu_Python27_64.zip
python -m pip install pandas
python2.7 RUN_ME.py
++++++++++++++++++
If everything is fine make a Snapshot (9GB) via the Alibaba Console.
I cannot find the IBridgePy image in the Amazon comunity. Is still there?
thanks
Yes, it is still there.
Yes I found it. I was in a wrong region! sorry. Thanks.
Now I could set it up but the instance has low resources to handle the TWS + Spyder. I can’t open both simultaneously.
Make the instance larger and stronger.
Thanks. I’ve increased the power and now goes well. Now I’m updating the ibridgepy version.
Does the instance still come with Python 2.7? I’m testing my code in Python 3.7, not sure what is the effect if I run it under Python 2.7? Or just remove and replace with 3.7?
The instance has default python 2.7. You may install Python 3.7 and download IBridgePy for Python 3.7